Advanced ceramics feature exceptional hardness, which makes them extremely favorable for use by technical ceramics manufacturers. Hardness is the ability of a material to resist deformation and scratching under an applied load. The hardness of a ceramic material is an essential property that determines its mechanical strength, wear resistance, and ability to withstand external stresses. Continue reading to find out more about how to test ceramic hardness.
How do you test ceramic hardness?
There are several methods you can use to test the hardness of ceramic materials, including indentation, scratch, and rebound tests:
Indentation test
The indentation test involves pressing a small indenter into the surface of the material and measuring the depth of the resulting indentation. The hardness is then calculated based on the applied load and the size of the indentation.
There are several types of indentation tests, including Vickers, Knoop, and Rockwell tests.
- The Vickers test uses a diamond indenter in the shape of a square-based pyramid with an angle of 136 degrees between opposite faces. The diamond is pressed into the surface of the material with a load of up to 100 kgf (kilogram-force) for a specified duration, usually 10-15 seconds. The resulting indentation is then measured using a microscope, and the hardness of the material is calculated using the following formula:
H = 1.8544P/d^2
where H is the Vickers hardness number, P is the applied load in kgf, and d is the diagonal length of the indentation in mm.
- The Knoop test is similar to the Vickers hardness test but uses a diamond indenter that is elongated and has an angle of 172 degrees between opposite faces. It’s particularly useful for testing the hardness of thin films and coatings.
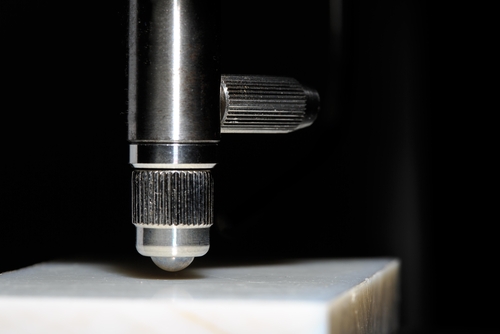
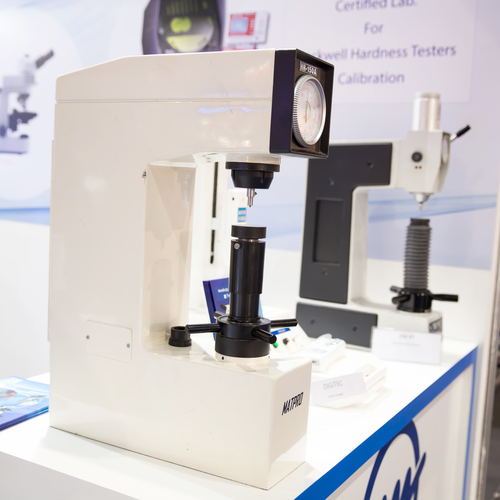
- The Rockwell test uses a diamond or tungsten carbide ball indenter that is pressed into the surface of the material with a load of up to 150 kgf. After measuring the depth of the resulting indentation, the hardness is calculated using a scale that’s based on the difference between the depth of the indentation and the depth of a reference point.
Scratch test
During the scratch test, the surface of the ceramic material is scratched with a pointed or blunt tool under a constant load or with increasing loads. The hardness is calculated based on the applied load and the length or width of the resulting scratch. This test is particularly useful for testing the adhesion and wear resistance of ceramic coatings.
Rebound test
The rebound test or the dynamic hardness test is a non-destructive method for hardness measuring. It involves dropping a small sphere onto the surface of the material and measuring the height of the rebound. The hardness is then calculated based on the applied load and the height of the rebound. The rebound test is commonly applied when testing the hardness of large and irregularly shaped ceramic components.
Where can I find dependable technical ceramics manufacturers?
 If you’re interested in finding out more about the process of powder sintering, ceramic powder production, or the properties and applications of zirconia toughened alumina, the dependable specialists at Wunder Mold are available to assist you. We’ll equip you with all the necessary details you need to manufacture parts that precisely meet your specifications and reach the optimal solution for your application.
With a team of committed professionals, we have extensive experience in advanced ceramics manufacturing and adhere to the most rigorous industry standards to provide top-notch, high-performance components to both domestic and international clients. Reach out to us by phone or email at sales@wundermold.com, at any time.